I posted a "sneak peak" of the Maxspect Razor when it was first released last year which proved to be quite the popular article (
Sneak Peak - Maxspect Razor R420R LED!). Months later, I've been toying with the idea of replacing my T5 fixture with an LED fixture. When I was offered the opportunity to put the Maxspect Razor on my aquarium to see if I liked it, I jumped at it.
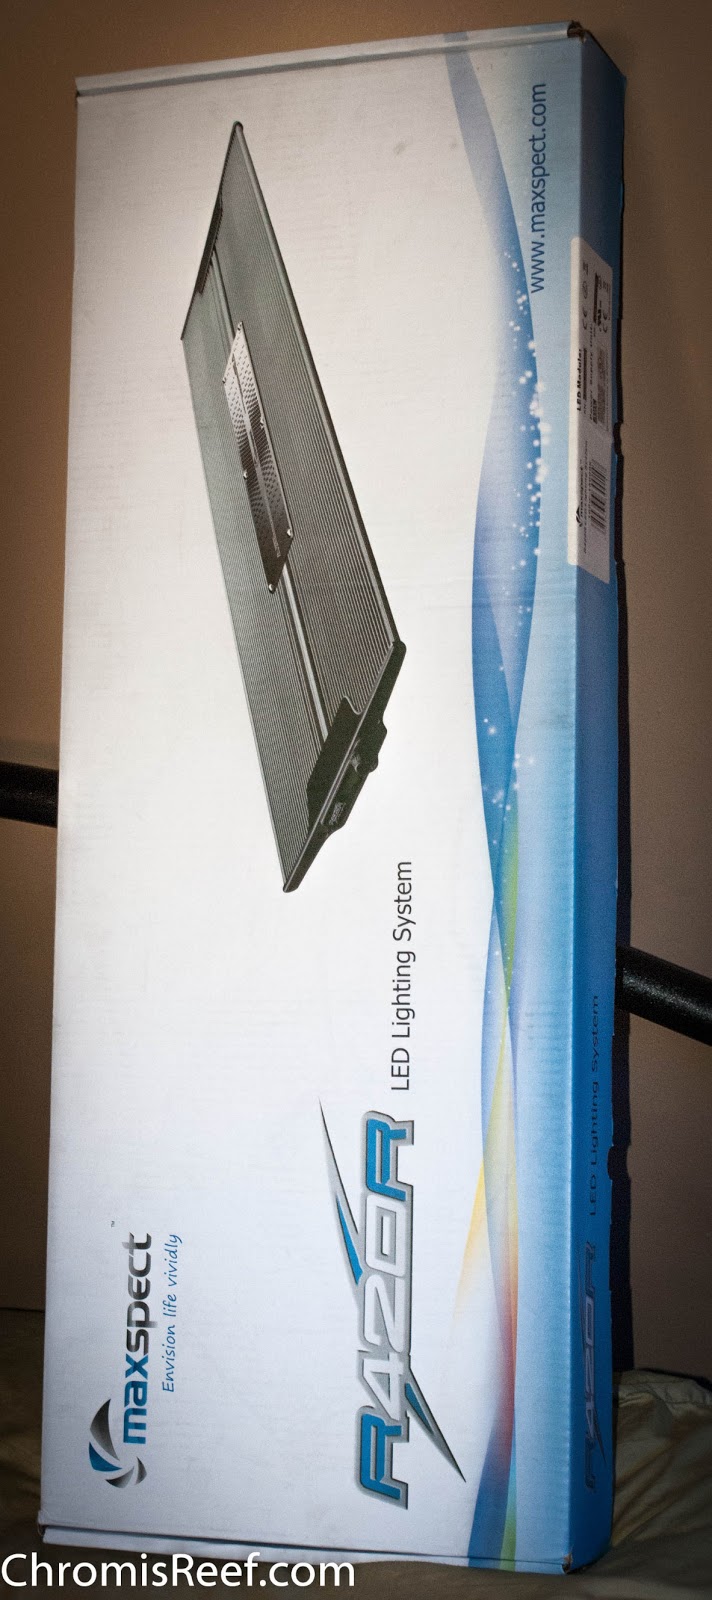
 |
| The box |
I've now created a second review after having my hands on this for a while... More pictures after the jump.
The Maxspect Razor shook things up a bit in the LED aquarium lighting world. It offered high output, a built in timer that could ramp up/down, a version that could cover more than 24", and a lower price point. Since it's release, it's been a fan favorite.
 |
| What's in the box: light fixture, driver, hanging wires, and mounting legs (legs were removed from box before picture). |
The Maxspect Razor is currently available in 2 lengths (27 inch and 20.5 inch) and 2 color combinations (10,000K and 16,000K). A freshwater planted version and a smaller Nano aquarium version have been announced and are set to be released soon. The model I reviewed is the Maxspect 27 Inch Razor R420R 16,000K LED Light Fixture.
The Razor features the benefits that it can be either mounted on the aquarium directly, or hang from the ceiling (or other method). The fixture includes the legs and the hanging wires, so both options are available to you. The only thing you would need to hang the light is hardware to connect to the ceiling.
 |
| Mounting legs (included) |
 |
| Width of mounting bracket. |
The mounting legs will set the height of the light at around 6.5" above the water level. When suspending it from the ceiling, 6-8 inches would be a good starting point. Hanging or mounting to the aquarium are essentially a personal choice in this as both are nice options. The model I tested was the 27" model, which will extend up to 48"! While technically usable on a 48" aquarium, I wouldn't recommend using it for more than a 36" due to shadowing.
 |
| Installing the thumb screw for the mounting legs. |
 |
| Thumb screws installed. |
 |
| Side view of light without mounting legs and with hanging bolts connected |
The light has interesting styling which have been described as fins. It's somewhat futuristic in it's appearance and is only 1.5" tall. While the fins and wings are somewhat stylish, their design is to act as a radiator to dissipate heat. The 27" model also has 2x fans which kick on when the fixture needs an extra drop in temperature. While the fixture is still new, there was no noticeable noise when they are on.
There are three LED groups (pucks/modules?), which provide the option or ability to use this light on an aquarium of 36" with fair coverage. At lower percentages, I noticed some shadowing towards the sides of the aquarium. One the light was turned up to 70% (and higher), the shadowing was unnoticeable. If my rock work was centered, it wouldn't be a problem.
Coverage for the 20.5" would be around 30" and the 27" should cover around 36" well. They lights are technically sold for use on aquariums up to 36" and 48" respectively. Check out CoralVue's site for more detailed information:
http://www.coralvue.com/aquarium-lighting/r420r-120watt-maxspect-led-lighting-fixture.html.
 |
| Other side view showing timer view |
The timer is located on the side of the light opposite the electrical cord. It's a digital LCD display with one function knob. It is depressed to change menus, and rotated to change time, percentages, etc. The unit's programming isn't something everyone should attempt without the manual, but it's really not that hard to figure out. There's 6 set points for 2 channels. One channel will be more white than blue. This allows you to do a dawn dusk effect or even dial in a color you prefer. I don't see this being a problem with output or loss of lighting by adjusting one versus the other as I've yet to run into anyone actually running these fixtures at 100%. I am currently running them around 40% to acclimate, and then will probably see where things are around 70%.
 |
| Timer display when fixture is plugged in and turned on. |
 |
| The top of my aquarium with glass lid on. |
I used the mounting legs for my test run. I left the glass hood on my aquarium to keep the light in pristine condition, too. The glass has reduced the intensity a bit, and there is a little bit of a noticeable increase in visible light when the hood has been removed.
 |
| Timer and mounting legs. |
I programmed the light to run around 7 hours. The first hour the lights ramp up at the same intervals, and the last hour they ramp down. Channel 1 is the white (daylight) channel, and Channel 2 is the blue (actinic) channels. While the light does not have a dedicated moonlight built in, I programmed Channel 2 to dim down to 1% and stay at that for several hours. This works as a great looking night light.
 |
| The light installed on the reef. Running at 35% intensity. |
And finally, the aquarium with the Razor. She's a beauty, aint she?! (Don't answer that)... I'll give the light some time to decide how my coral react, but so far so good. If the light works out, I'll definitely be making the jump to the fixture.
Until next time...