 |
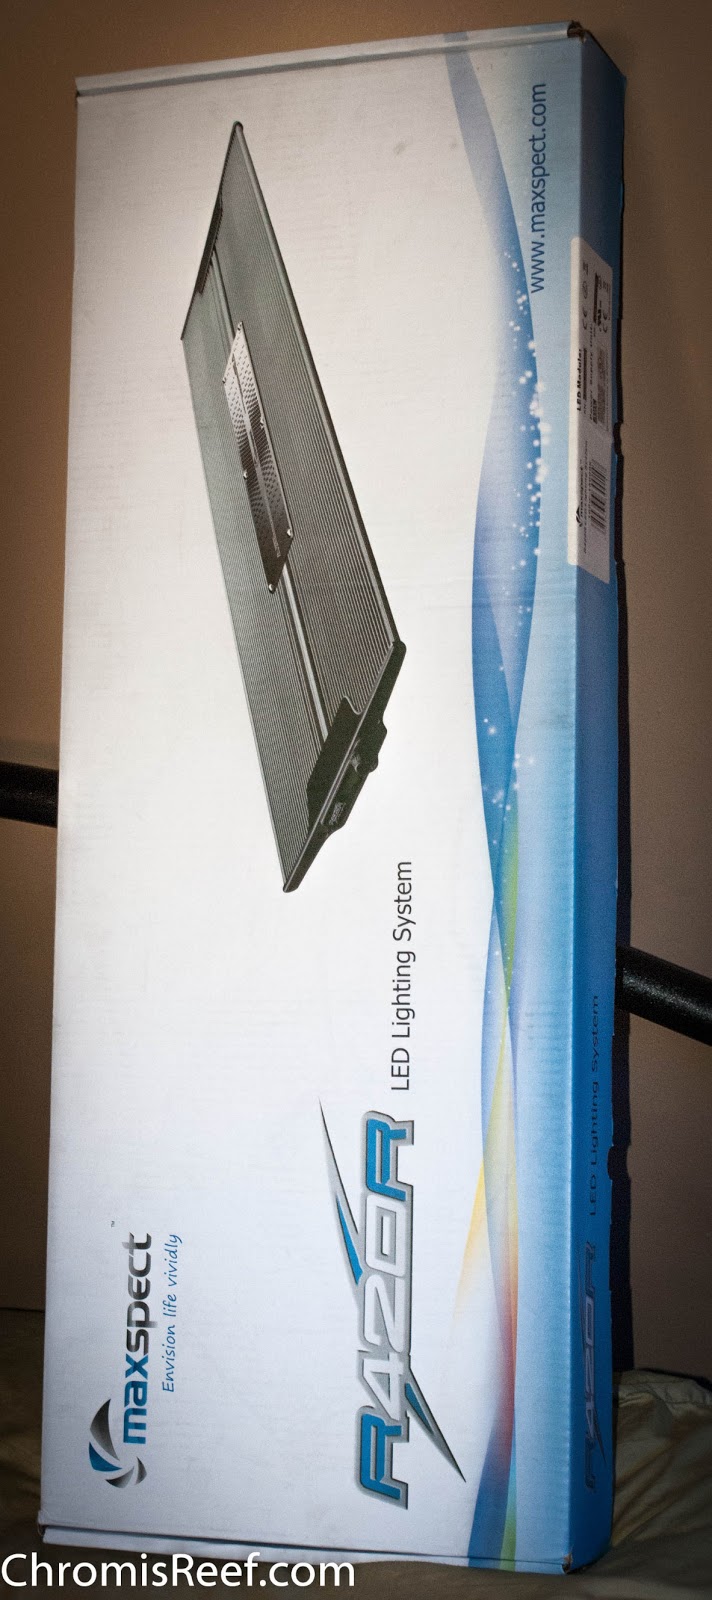
| The box |

Showing posts with label product review. Show all posts
Showing posts with label product review. Show all posts
Wednesday, April 10, 2013
Product Review: Maxspect Razor
I posted a "sneak peak" of the Maxspect Razor when it was first released last year which proved to be quite the popular article (Sneak Peak - Maxspect Razor R420R LED!). Months later, I've been toying with the idea of replacing my T5 fixture with an LED fixture. When I was offered the opportunity to put the Maxspect Razor on my aquarium to see if I liked it, I jumped at it.
I've now created a second review after having my hands on this for a while... More pictures after the jump.


Thursday, March 28, 2013
Product Review: AquaMaxx EcoMaxx 100 (EM100) Protein Skimmer
Sometimes being an early adapter of a product can scare some people off, but not this reef nerd. "AquaMaxx has a new skimmer design with a new pump?! Count me in!"
A handful of my fellow reefing buddies (reef nerds) have been running the AquaMaxx AM series in sump protein skimmers, and we have a HOB-1 (hang on back) on the 28 gallon JBJ Nano Cube. I had heard great things about these AquaMaxx protein skimmers and seen great results from fellow reef nerds. When I was setting up my system and purchasing my first in-sump skimmer, I hit a snag: I only had 23" of height to work with in my tank stand. The coveted AquaMaxx skimmer I wanted would have to wait for another day.
Editorial note: I was reluctant to post my review for this skimmer as I was too excited/lazy to document the assembly and install process. The skimmer has now been in my sump for over 6 months, and I have yet to take any photos of the skimmer for my review. That said, I did imbed a quick YouTube video above so see it after it had been in my system for a month or so, and I'll update this post in the future if I take some photos.
(Follow the link to read more...)
(As you can tell by my video, it's difficult to take good images of anything in my sump. Sorry.)
A handful of my fellow reefing buddies (reef nerds) have been running the AquaMaxx AM series in sump protein skimmers, and we have a HOB-1 (hang on back) on the 28 gallon JBJ Nano Cube. I had heard great things about these AquaMaxx protein skimmers and seen great results from fellow reef nerds. When I was setting up my system and purchasing my first in-sump skimmer, I hit a snag: I only had 23" of height to work with in my tank stand. The coveted AquaMaxx skimmer I wanted would have to wait for another day.
Editorial note: I was reluctant to post my review for this skimmer as I was too excited/lazy to document the assembly and install process. The skimmer has now been in my sump for over 6 months, and I have yet to take any photos of the skimmer for my review. That said, I did imbed a quick YouTube video above so see it after it had been in my system for a month or so, and I'll update this post in the future if I take some photos.
(Follow the link to read more...)
Friday, February 22, 2013
Sneak Peak: Innovative Marine MiniMax Reactor
I got a sneak peak at the latest gadget from Innovative Marine, the Innovative Marine MiniMax All-In-One Media Reactor. They are quite... Innovative.
 |
| MiniMax Reactor w/ packaging. |
ReefBuilders released news of the item early this week, and I was certainly impressed by what I saw. Well, today I got to see this new filter in person. In the images, the reactor was installed on a JBJ RL 14 Gallon aquarium for display purposes only. It was not installed into a live reef system.
The reactor was filled with biopellets (a.k.a. bio plastics). This is a great media to test the reactor with as it's heavy and needs to tumble. If the reactor can easily tumble bioplastics, it should have no problem with carbon or GFO (granular feric oxide).
(More details and images after the jump...)
Thursday, December 13, 2012
Sneak Peak: JBJ Cubey All-in-one Biotope
The JBJ Cubey is best described as "cute". I mean look at it! It's petite and functional, and has a real LED system in it. The item has yet to hit shelves, but is expect to be released for pre-order on retailer's sites very soon.
I saw the "little guy" at Reef-a-palooza 2012. I saw the white version which was certainly nice, but I was excited to see the black color version today. I definitely like the look. Check out my photos after the jump.
*Update (12/28/2012): Item now available at Marine Depot: JBJ Cubey 3 Gallon Pico LED Aquarium. Available in black and white.
 |
| The JBJ Cubey - Inside is the filter sponge and media basket |
*Update (12/28/2012): Item now available at Marine Depot: JBJ Cubey 3 Gallon Pico LED Aquarium. Available in black and white.
Thursday, July 12, 2012
Sneak Peak - Maxspect Razor R420R LED!
 I got to take a look at the newest LED fixture from Maxspect. The Maxspect Razor R420R LED Light Fixture is an impressive lady. Sleek, thin, attractive. Can be mounted on the aquarium using the included mounting legs, hung from the ceiling or from hanging arms, or using the Maxspect mounting system. It's quite versatile.
(More information and images after the jump!)
Friday, October 28, 2011
Reef A Palooza 2011
I stopped by the 8th Annual Reef A Palooza show/event this past weekend in Costa Mesa, California. Reef A Palooza is an aquarium trade show promoted by the Southern California Marine Aquarium Society (SCMAS). RAP isn't so much a trade show as it is an indoor marketplace where sellers, exhibitors, and hobbyists of all meet to sell, trade, or show off their products. This was my first year visiting RAP, and I was not disappointed.
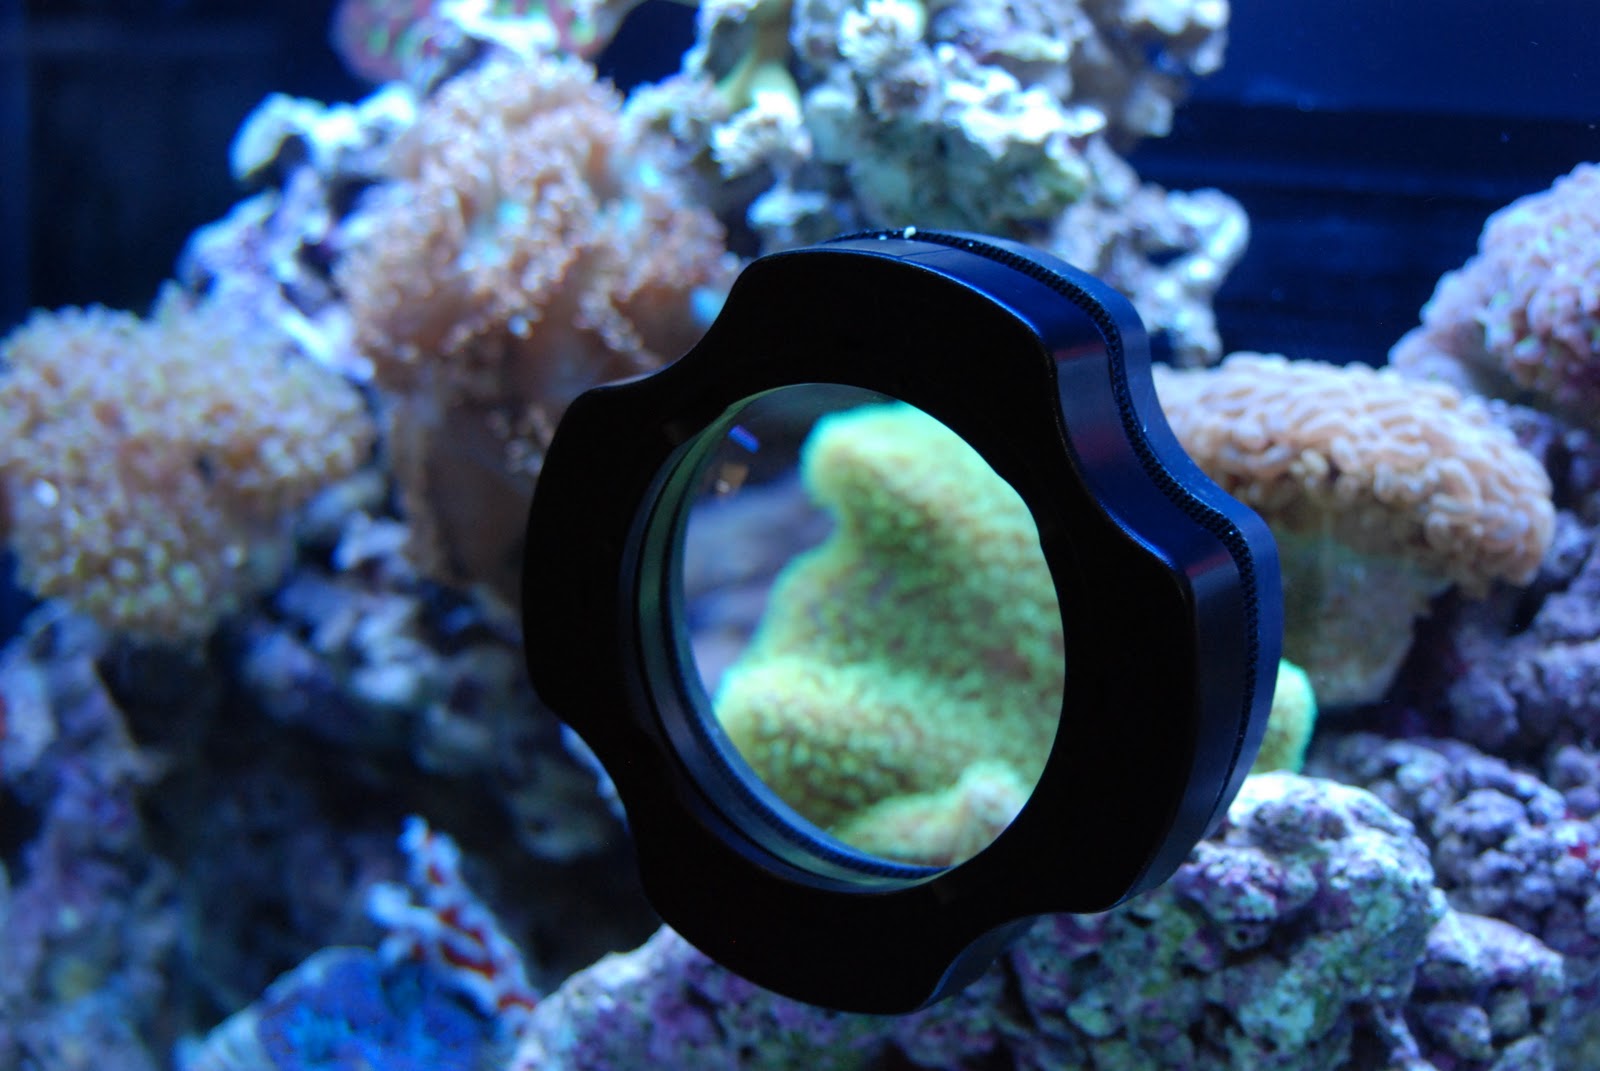
I got to see some nice coral, fish, and displays. There was a wide variety of vendors, big and small, online and brick and mortar. Marine Depot, an online retailer, had a large booth shared with Innovative Marine. A spin of the wheel at the Marine Depot booth offered the opportunity to pick up a prize. While you were at the booth, you could check out some of the hottest products in the market such as Innovative Marine Aquariums, Ecotech Marine Radion LED light fixtures and Vortech Pumps, the Kessil 150W led fixture, Mr. Aqua frameless tanks, AquaticLife T-5 lighting, and Orphek Power Reef LED fixtures to name the biggest attractions. Another popular hit was the Innovative Viewing Systems Portal on a Red Sea Max aquarium. This was a show stopper for sure.
Other vendors featured their products. AquaticLife had a large booth featuring their lighting systems, and Ecoxotic introduced their new Panorama PRO fixture. The new Panorma PRO fixtures are said to offer stronger lighting for deeper aquariums than the first generation fixtures, and the price point is said to be competitive with other fixtures. This fixture is definitely something to keep an eye out for, and I'm anxiously waiting for the fixtures to roll out completely.

On the additives side, industry giant Seachem was present to showcase their large line of supplements including their premium Aquavitro line. Additive and supplement company, Aqua Vision Aquatics, had a booth featuring their wide range of products. Aqua Vision Aquatics offer a nice bang for your buck, and feature supplements with updated formulas to meet the needs of the modern reef aquarium.
Industry blog leaders such as ReefBuilders and Reef Addicts were also among the booths. The show also had many great speakers in the speaking room providing information on a wide range of topics.
Reef A Palooza was a small, but fun show. Their were over 70 exhibits and an estimated 3000 visitors over two days! This local show has potential for growth, and I imagine an even greater show next year at Reef-A-Palooza 2012!!
Be sure to check out Marine Depot's Facebook page for some pictures of their booth and other great pictures from Reef-A-Palooza 2011!
 |
| Red Sea MAX 250 - Silver |
 | |
| Creative Idea: IKEA light fixture w/ a PAR38 LED bulb |
Other vendors featured their products. AquaticLife had a large booth featuring their lighting systems, and Ecoxotic introduced their new Panorama PRO fixture. The new Panorma PRO fixtures are said to offer stronger lighting for deeper aquariums than the first generation fixtures, and the price point is said to be competitive with other fixtures. This fixture is definitely something to keep an eye out for, and I'm anxiously waiting for the fixtures to roll out completely.
 |
| 4" Innovative Viewing Systems Portal |
On the additives side, industry giant Seachem was present to showcase their large line of supplements including their premium Aquavitro line. Additive and supplement company, Aqua Vision Aquatics, had a booth featuring their wide range of products. Aqua Vision Aquatics offer a nice bang for your buck, and feature supplements with updated formulas to meet the needs of the modern reef aquarium.
 |
| Ecoxotic Panorama Pro LED Fixture |
Industry blog leaders such as ReefBuilders and Reef Addicts were also among the booths. The show also had many great speakers in the speaking room providing information on a wide range of topics.
Reef A Palooza was a small, but fun show. Their were over 70 exhibits and an estimated 3000 visitors over two days! This local show has potential for growth, and I imagine an even greater show next year at Reef-A-Palooza 2012!!
Be sure to check out Marine Depot's Facebook page for some pictures of their booth and other great pictures from Reef-A-Palooza 2011!
Saturday, September 24, 2011
Red Sea's Aiptasia-X

Many hobbyists employee natural removal methods including (but not limited to) Nudibranch, Peppermint Shrimp, and even certain fish such as the Aiptaisia Eating Filefish or the Raccoon Butterfly Fish. Employing natural Aiptasia control methods has it benefits such as not dosing or adding anything to the aquarium and relative ease of just adding some live creatures to do the work for you. These methods are not all equal, not all guaranteed to work, and can have some unforeseen consequences such as some of these critters quickly changing their diet to your coral.
I didn't completely rule out these "Natural" methods, but the current downsides and risks outweighed the immediate benefits. So I thought I would try a Aiptaisia product. I have tried Joe's Juice in the past with very positive results. The anemones I was able to target didn't return, however I didn't follow up as I saw new anemones and the population slowly grew back. Being the curious hobbyist, I decided to try another product that fellow hobbyists have used and experienced great results. I picked up a bottle of the Red Sea Aiptaisa-X. It worked like a charm.
Once unpacking the items, the first thing that caught my attention was the two syringe tips. They had a threaded backside to connect directly to the threaded portion of the syringe for stability and control. The tips were also metal, which offers longevity if kept clean. I also thought that including the two different angled syringe tips (one straight angles, one at a 45 degree angle) was a well thought out move on behalf of Red Sea. Kudos to Red Sea for thinking of the customer and the application. It's much easier to apply this product to the underside of rocks and tough to reach places.
The product itself is purple, and not as thick as other products. It was easier to apply and it didn't clump up. I followed the directions, which require that all water movement (my return pump and EcoTech Vortech pumps) were turned off for 30 minutes. This allows the solution to be delivered directly to the little buggers, and prevents the product from accidentally coming into contact with your "good guy" coral and anemones. This was a lesson learned the hard way after I damaged my prized Blastomussa. It had been doing well and growing up until that day, and it's been clinging to life ever since. So be aware of what you are doing, follow the directions (they're there for a reason), and the product is safe. It will also not alter your water's chemistry.
It's fairly simple to use this product. Apply the tip you wish to the included syringe, fill syringe with solutions, find your target, and gently release the product onto the anemone's disk. Doing this slowly prevents the anemone from retreating before consuming the product. You will want to ensure that the disk is covered with solutions, and leave the product in place for about 30 minutes; you will want to leave your pumps off for this time. That's pretty much it. I didn't think of taking pictures of the culprits before I decide to treat them, but I think I see another one hiding, and I'll try to get a picture of the process next time...
Do I recommend this product? Definitely.
Will I use it again? I hope not, but definitely.
Thank you for stopping by! Until next time, friends...
Friday, July 15, 2011
Aquascape with Base Rock
Live rock is essential to the reef tank. It provides a place for beneficial bacteria to colonize, it helps seed your aquarium with bacteria, provides and place to attach your coral, and turns a plain tank into a living piece of art. Live rock is great, but it can be costly. Prices can vary, but I typically see live rock for about $5 per pound. This is not always friendly on the budget, and you never know what you're going to get hidden in the live rock.
Solution? CaribSea SouthSeas Base rock! Base rock can take many forms, but generally refers to aragonite or limestone rock that is dry and thus is not seeded with beneficial bacteria, Coraline algae, or other life forms. The lack of live critters and Coraline algae may be a drawback for some, but others see this as benefit. Dry rock is essentially dead; there's no chance for harmful hitchhikers! That means no Aptaisa Anemones, Bristleworms, Mantis Shrimp, etc... You get a clean start! There are many great bacteria additives to seed your tank with beneficial bacteria, and Coraline Algae is easily attainable from another hobbyist. You can bring life to your tank by adding copepods to your tank. Given time, your base rock will be live! (It's ALIVE!)
Not convinced? Base rock is also less expensive compared to live rock. Compare $2 to $3 per pound for dry base rock versus $4 to $5 (if you're lucky) for live rock. I've personally seen live rock at local shops for $10 a pound. At 1 to 2 pounds of live rock per gallon, this can add up quickly. Let's do some simple math!
Let's say Johnny has a 40 gallon breeder. He wants about 1.5 pounds of rock per gallon:
Ok, so for my future aquariums I will probably start with all base rock. However, I already had live rock when I started my current aquarium. I needed more rock, and I was having a hard time justifying $5 a pound for live rock at local stores. I was looking at 20-30 pounds, or $100-150 for live rock- rock I'm mostly certain will have little hitchhikers that will leave me pulling out my hair. For under $3 per pound, I purchased 40 lbs of Caribsea South Seas Base Rock! Woohoo! While the rock is devoid of life, it will become "live" within several months to a year as my existing live rock will seed the new rock. Over time, it will color up to look like the rest of the rock in my tank, and I won't be able to tell the difference.
CaribSea says that, "South Seas [base rock] is a calcium carbonate base rock that is very similar to actual reef rock and at one point actually was, although it is obtained terrestrially from ancient coral reefs underground." The rock is very porous and stacks easily. Good enough for me!
Upon inspection of the rock, the rock was generally clean. My particular box featured beautiful, large pieces. No rubble at all. I was very pleased. As expected, there was some dust in the box, but there were no other surprises in the rock. I soaked the rock and rinsed it in RO/DI water. This step removed the dust, preventing my aquarium water from becoming cloudy. Rinsing will also ensure there are no chemicals or other items leached into the tank. Using RO/DI water instead of tap water is an extra safety step to ensure nothing from tap water is absorbed by the rock and leached into my aquarium down the road. Better to be safe than sorry.
After rinsing, I allowed the rock to dry in the sun for a while. As the new base rock was drying, I started moving rocks and corals to make room for the new base rock I was about to add. Okay, time to add the rock! To be honest, It's not all that exciting. Aquascaping is my least favorite chore. I am too picky and I can never get the rock exactly how I envisioned it. So let's skip forward an hour or so... And the rock is in!
The rock looks great! While it does look different from my existing live rock (being clean and white), in time Coraline algae will cover the rock and it will fill with life. I am happy I was able to save a few bucks and not have to worry about adding unwanted hitchhikers. The new rock has offered more real estate for my coral, and more hiding places for my fishes.
Until next time...
 |
| CaribSea SouthSea Base Rock |
Not convinced? Base rock is also less expensive compared to live rock. Compare $2 to $3 per pound for dry base rock versus $4 to $5 (if you're lucky) for live rock. I've personally seen live rock at local shops for $10 a pound. At 1 to 2 pounds of live rock per gallon, this can add up quickly. Let's do some simple math!
Let's say Johnny has a 40 gallon breeder. He wants about 1.5 pounds of rock per gallon:
- 1.5 lbs x 40 gallons = 60 lbs of live rock
- 60 lbs of base rock x $3 per lb = $180
- 60 lbs of live rock x $5 per lb = $300
"But Chris, you bought live rock and then added base rock? What's the deal?"
 |
| Good sized rock. (iPhone for reference). |
 |
| Stacks "like Legos" according to my coworkers. |
 |
| Porous. One large piece had holes that were perfect for holding frag plugs! |
 |
| RO/DI water. I just kind of liked this shot. |
 |
| Soak and rinse to get off the dust |
 |
| The rock is in. (Sorry for the terrible picture, moonlights and all.) |
 |
| **Updated: Daytime photo of new rock |
Until next time...
Thursday, June 23, 2011
Marineland Maxi-Jet 1200 Pro Powerhead

Marineland has recently updated their powerhead line. The new line now includes both an impeller and a propeller with a cover for each set up. It also includes a new Omni-Directional Mount that can be attached to the suction cup mount the units included in the past. The new powerheads still include the same pieces and adapters for multiple uses (such as a venturi adapter) as before.
Propeller and Circulation Assembly:


Powerhead / Utility Assembly:


The Maxi-Jet 1200 Pro will push a maximum of 295 GPH in powerhead mode, 1300 GPH in circulation pump mode, and a maximum of 6 feet when used in utility mode.
Reports have surfaced that the new Maxi-Jet Pros would produce a rattling noise when back pressure is applied. I wanted to see if I could replicate these reports, so in addition to testing the pump in both the standard utility (powerhead) and circulation modes, I also tested the Maxi-Jet on an AquaC Remora protein skimmer and I also used a ball valve to apply back pressure.


Next, I installed the propeller and the propeller cover and put the Maxi-Jet in my aquarium. It had a good, strong flow. The flow was a little more focused than I had hoped, but I was able to feel the flow from the powerhead on the other side of the aquarium (36"). I played around with turning the pump on and off, but it makes a rattling noise when starting. Because of this rattling, I would say these would not be the best for a wavemaker. When starting up again, the propeller cover rattled and also seemed like it wanted to come off. At one on/off session, the propeller wouldn't turn on, and another it fell out. Oops. I would have to say that there are better options out there for a on/off wave making function, but the strong flow and near silence when in use make this pump a good option for in tank water flow.


Until next time...
Tuesday, June 14, 2011
New Protein Skimmer!
Sneak peak of my new Reef Octopus 6 In Sump Pinwheel Protein Skimmer w/ Bubble Plate.

More information to follow...
**UPDATE: 8:58 P.M. - The skimmer has been installed. It's too soon to write a review, but it looks very promising! The assembly was simple, and it's making lots of tiny bubbles since the install. The skimmer body is sturdy and constructed of quality acrylic. I can't wait to see how it skims!
Installation wise, it was a little taller than the room I had available in my sump, so I had to remove the drawer from my tank stand. I'll have to find some way to create a fake drawer to cover the opening. The skimmer fit nicely into my 20 gallon long DIY sump's middle chamber. I don't see many micro bubbles leaving the skimmer, but I designed my sump to have a bubble trap just in case.
Here's just a few pictures I took...


I'll write a complete product review after the skimmer has a chance to break in! Until next time, keep on reefing...

**UPDATE: 8:58 P.M. - The skimmer has been installed. It's too soon to write a review, but it looks very promising! The assembly was simple, and it's making lots of tiny bubbles since the install. The skimmer body is sturdy and constructed of quality acrylic. I can't wait to see how it skims!
Installation wise, it was a little taller than the room I had available in my sump, so I had to remove the drawer from my tank stand. I'll have to find some way to create a fake drawer to cover the opening. The skimmer fit nicely into my 20 gallon long DIY sump's middle chamber. I don't see many micro bubbles leaving the skimmer, but I designed my sump to have a bubble trap just in case.
Here's just a few pictures I took...


I'll write a complete product review after the skimmer has a chance to break in! Until next time, keep on reefing...
Saturday, March 19, 2011
TrueLumen Pro Led Strips
 Working in the marine aquarium industry has some amazing perks! Yes, I get to talk about something I enjoy all day with customers, and I get to work with a bunch of other "fish nerds." More importantly, though, I get to hear about and see new products. Sometimes, I even get to play with them! This week I was allowed to take home and test a Current-USA TrueLumen Pro LED Strip. I brought home the 36" TrueLumen Pro LED Strip Light, Deepwater Actinic Blue 453nm. The Specifications from the manufacturer (CurrentUSA) are posted below.
| Model: | Description: | Dimensions: | Max Power Consumption: | Max Number of strips per 1x60w transformer: |
| 3027 | 36" TrueLumen Pro LED Strip Light, Deepwater Actinic Blue 453nm | 36" x 0.8" x 0.7" | 23 watts | 2 |
| 3036 | 60 watt 24 Volt Power Transformer | - | - | - |
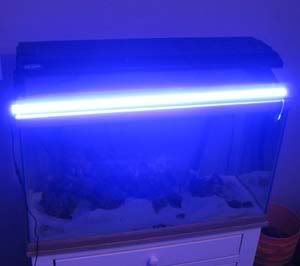 The LED is BRIGHT. I tried to take some pictures, but apparently my photography skills have failed me. It's difficult to capture the intensity of the lighting and accurately compare the brightness to that of my t-5 lighting.
 Current USA claims the light is expected to improve coral growth, but with the exception of a one liner on the instruction sheet that came with the LED light, I have been unable to find other written claims in regards to that matter. I would love to know if these fixtures are intense enough to be used as a stand alone lighting systems. I expect to see some tests and more information from others, and from the looks of it, I wouldn't be surprised if the LED lights could be used in multiple quantities to grow coral. (*Disclaimer: I don't have PAR meters or any other testing devices.)
What I have seen so far is a cool running LED that provides intense lighting. For fish only or FOWLR aquariums, there is no doubt that one or maybe two of these LED strips would be more than plenty of light. The fixture is built well and comes with 180 degree rotating mounting brackets and screws, so the fixture can be mounted almost anywhere. I'm going to keep it running on top of my tank as a dusk and dawn light; I will have it come on about an hour before and turn off about an hour after my t-5 lights shut off. I'm excited to see what this new LED is made of!
Stay tuned! I will keep you posted on the TrueLumen Pro LED strips, and my next update will include information from one week after the big switch from the 18 to the 60.
Subscribe to:
Posts (Atom)