
 It's been a long afternoon, but It's finally here. My lovely girlfriend / assistant helped me out quite a bit today and yesterday to prepare for the switch. She helped run the RO/DI unit and make water for me in advance, she helped me mix the salt, and today she helped me haul buckets inside. The job today didn't take as long as we had expected, but it took some planning and strategy to pull the job off... and it helped to have a great assistant...
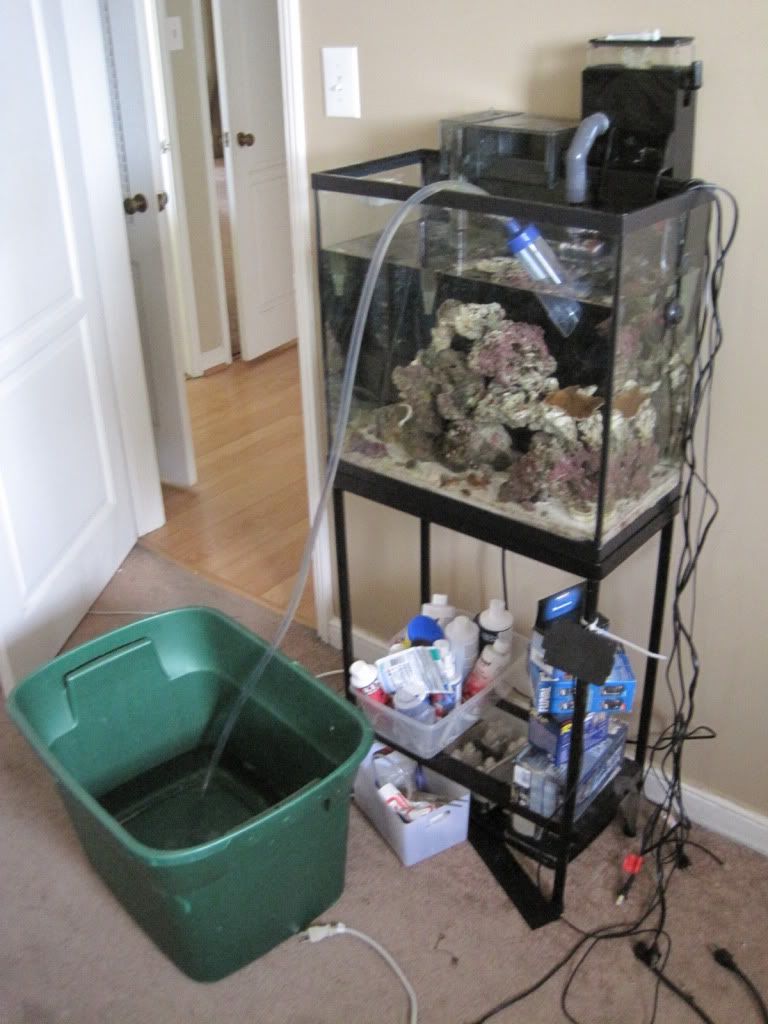
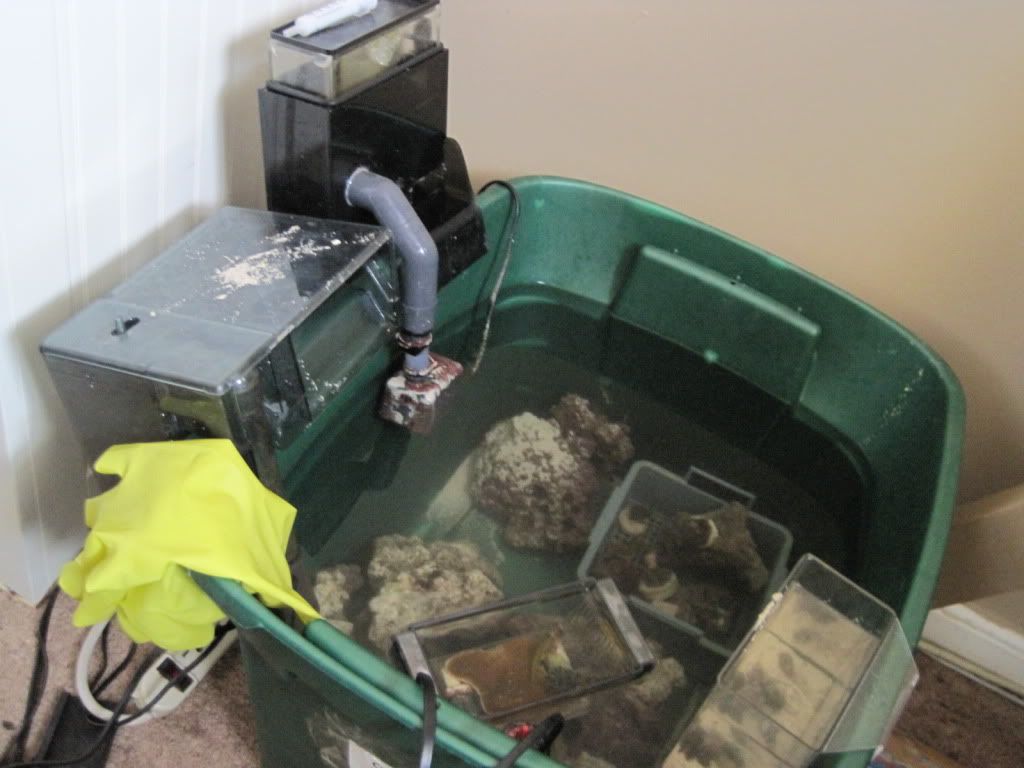 First, I set to drain the 18 gallon tank. I drained the water into a rubber maid tote and placed the live rock, coral, and my fish in the bucket. I left the heater and a power head flowing. You can see in the picture that I placed the rock in and separated the coral into a baskets. I've lost coral doing projects like this before, so I had to make sure I could keep the coral safe and easy to find.
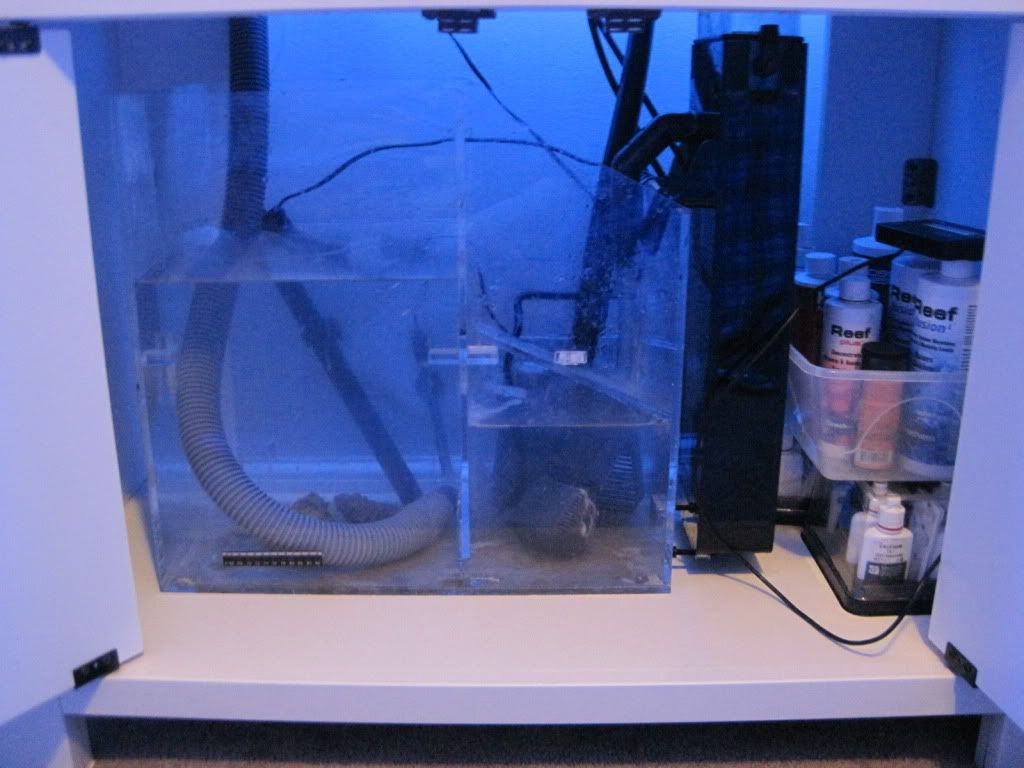
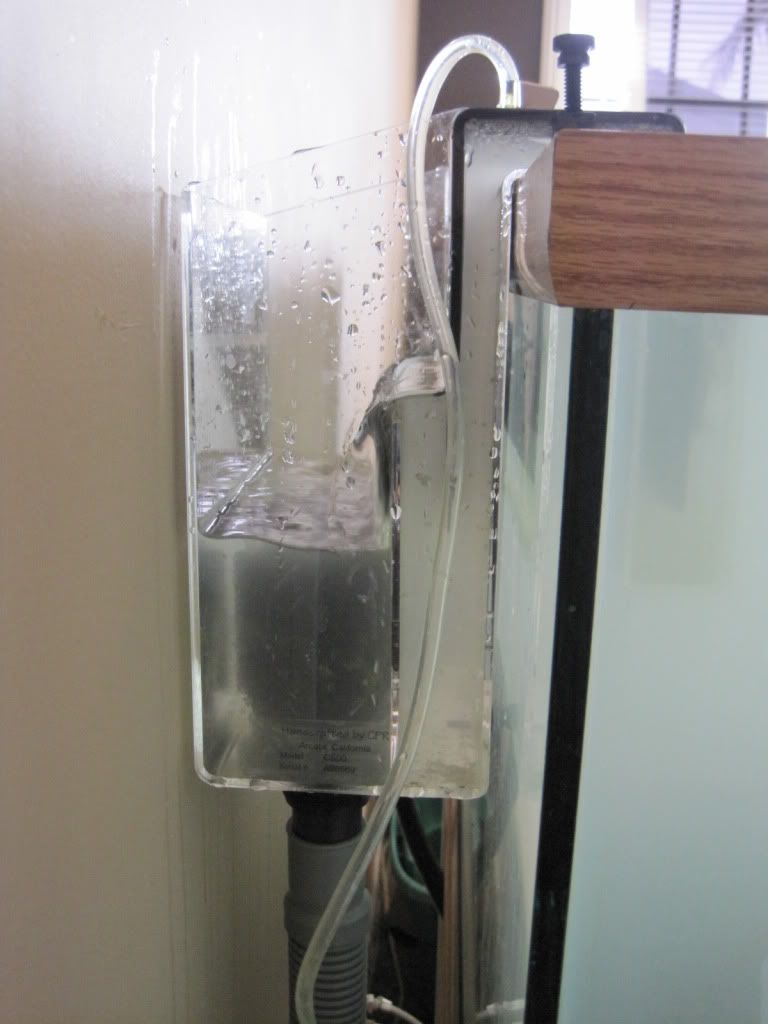
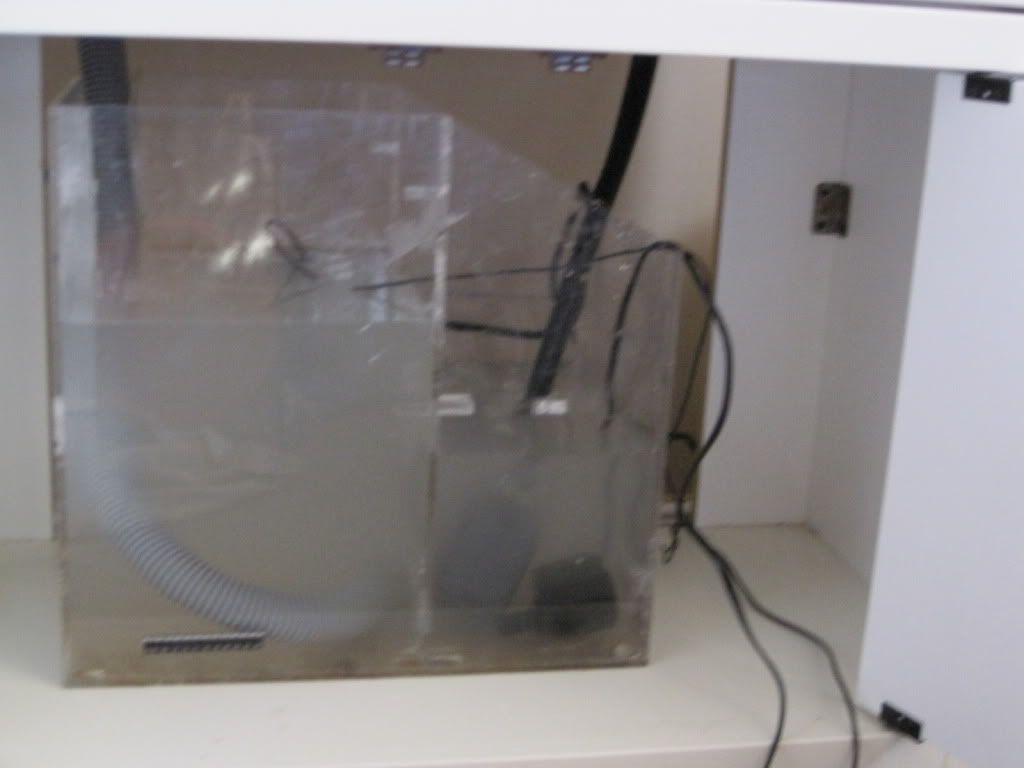
  After draining the aquarium, it was time to rinse off the 60 gallon aquarium and bring it in the house. We used a level to try to get the aquarium to sit as level as possible. The floor is higher closer to the wall, so I used some scrap pieces of wood to shim the front of the tank. This worked out okay, but it left the front just a little bit higher than the back. I will have to use some ultra thin shims to level the back out just a tiny bit. We arranged the tank, and after three failed attempts to situate it so there would be enough access for the CPR overflow box, we had it set. I put the overflow box on the back and set the sump in the stand.
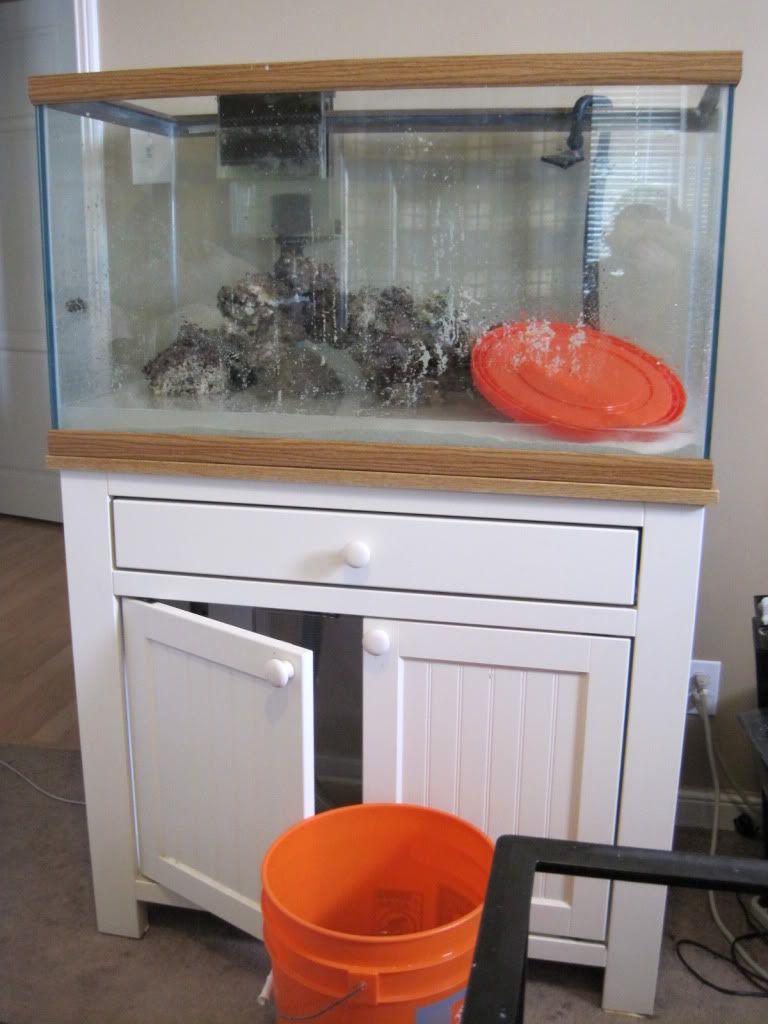 Now it was time to put the live sand from the 18 gallon and add 30 pounds of new aragonite. I added the live stuff first, and added the new aragonite on top. I started on the aquascape and added the live rock. I don't think I have quite enough, but the shape of the rock came out pretty cool. I like to go for the look where it's off a little bit to one side, and doesn't look like it was meant to be stacked. It's probably the only artist instinct I have... and it's not very good. I'll probably purchase some good base rock and add to the pile within the near future. In the picture, you can see that I used a bucket lid to help keep the sand in place while I added buckets of water.
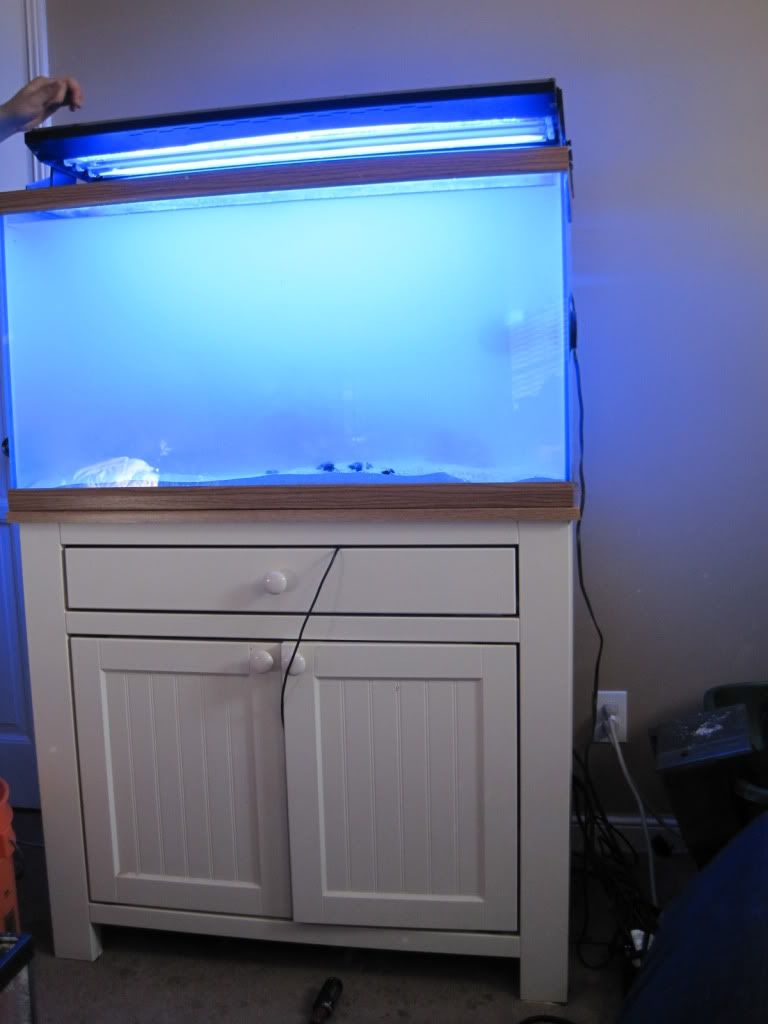 And the worst part: adding the water. One 5-gallon bucket at a time. It was a long process. My great helper, Mal, helped me out quite a bit. Sometime she lugged buckets in, and we got into a good routine of me lugging and pouring, and she would fill the buckets up so they would be ready when I had finished one. The routine worked rather well, and it went faster than I had imagined. That doesn't mean it was a fun or easy project- it wasn't. It did go by quicker than anticipated though, and for that, I am very grateful. Laddies and gents- get a good helper! :) In the image, you can see the tank is full, and I have placed the light fixture on. We're almost done.
So here's the specs of the new tank:
+ 60 gallon aquarium. 36" L (footprint of a 40 gallon breeder).
+ Used sump. Probably 10 gallons or so. It's going to be giving me trouble as I am terrified that it will overflow.
+ Taam Rio return pump
+ CPR overflow kit w/ Aqualifter pump
+ Sunlight Supply tech light. 4x 36" - 39 watt t-5 bulbs. D-D Giesemann Powerchrome T5 High Output Fluorescent Bulbs. 3x Actinic+ and 1x AquaBlue Plus. I wanted a blue look, and so far it looks amazing. My coral are fluorescing, and I'm seeing colors I never knew were in my corals.
+ Koralia 4 powerhead. (I had it laying around). Will be considering an mp10 or 2x Koralia Evolutions hooked up to my Reef Keeper Lite.
+ Digital Aquatics Reef Keeper Lite. Basic model. Head unit with one PC4. Currently controlling my heater, lights, and return pump. I'm definitely going to add a PC4 to the setup.
+ AquaC Remora (w/ drain fitting) being run with a rio pump. It works, but it's really noisy as the water is pouring into the sump. I need to do something about this quick. I wedged some acrylic pieces I had under the water flow to help keep it from splashing directly into the sump, and it helps a little, but it's driving me nuts.
Some people might ask, so I'll tell you that the aquarium and stand were given to me by my lovely girlfriend, and I purchased most of the above from friends, however I also purchased the bulbs, my salt mix, my RO/DI filters, and other items from MarineDepot.com. Couldn't be happier with my purchases and freebie aquarium.
Everything is still a little cloudy, but I had to add everyone in. I drip acclimated everything and back in everything went. So far so good. I will definitely need to add some wood under the shelve in the tank stand for some extra support, and I will need to upgrade the sump soon. It wasn't designed as a normal sump, and it gets right up to the edge; this makes me very nervous and worried about overflows. I will need to get a check valve for the return line as well.
Overall though, it's been a good day, and I am glad I could take this opportunity to set up a new system. I will post updates soon, and I will document the progress as it comes along. Until next time...
No comments:
Post a Comment